Posts

Showing posts with the label Characters

From script to screen - Digital character emotions

Image
Here are the two emotions that I made for Dexter: Here are the three emotions that I made for Dr. Hugo Brantly:

From script to screen - Digital character design

Image
Here is my first digital drawing of Dexter: Here is my first digital drawing of Dr. Brantly: 

From script to screen - Character design

Image
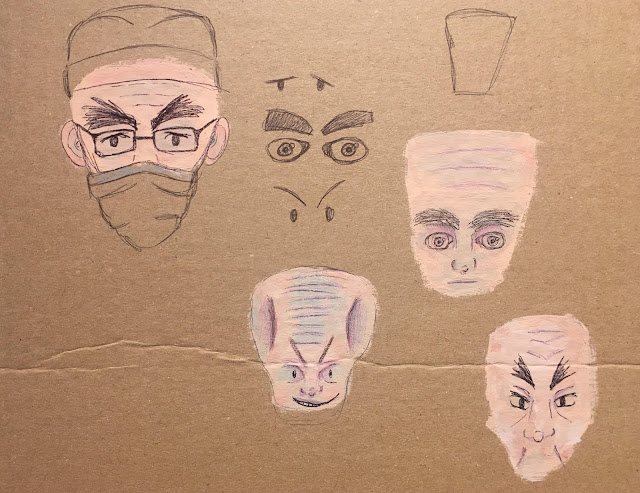
After my second OGR, Phil gave me the advice to redesign my characters and set to look more cartoon like and inspired by cartoons such as Looney Toons. Here is a quick bit of research that I did looking at Looney Toons cat characters such as Sylvester and Penelope. Here are the thumbnails I created for Dexter: Here is some more research that I did on human Looney Toons characters. I looked at how their noses, eyes, ears and mouths were drawn. Here are the thumbnails that I created for Dr. Brantly:

From script to screen - Storyboard

Image

From script to screen - Character biographies and Treatment

From script to screen - Concept art

Image
Location concept art: Character concept art: Dexter - Dr. Brantly's sidekick Dr. Brantly World renown scientists Prop concept art:

From script to screen - Thumbnails for characters, props and location

Image
Here are my developmental thumbnail sketches for my story's characters, props and location. Here are my developmental character thumbnails for the evil brain surgeon, Dr. Hugo Brantly: Dr. Hugo Brantly developmental thumbnails Here are my developmental thumbnails of an octopus sidekick for Dr. Brantly. After considering how realistic an octopus sidekick would be, I then moved on to creating a cat sidekick for Dr. Brantly named Dexter. Octopus sidekick developmental thumbnails Dexter (Dr. Brantly's sidekick) developmental thumbnails Here are the thumbnails for the props that will be used within my story. Here are the location developmental thumbnails for my story. There are thumbnails for: The hospital corridor The hospital lift The hospital basement The hospital basement room

From script to screen - Influence maps

Image
From script to screen - Influence maps Location:   This influence map looks at four different locations, all of which are linked. These are: The hospital corridor The lift The hospital basement The room in the hospital basement Character: This influence maps shows ideas for both the evil brain surgeon character and his cat side kick.

From script to screen - Character design - Villain and other scientists

Image
Here are some of my character designs for both the villain and other scientists within my story. I haven't decided yet on which of these characters below will be my villain and which of the other characters will be the other scientists. I have also experimented with different eyes for each of the characters to see which I'd prefer.  For these designs I created the skin colours using acrylic paint and then used black Biro pen and coloured pencils to add more details and facial features.

Character design - Lesson 3

Image
For the first half of the lesson we were told to design weapons for a well known character as if they were going into battle. I chose Ralph from ' Wreck-It Ralph '. These are the first weapon design ideas that I came up with. My first weapon was a knuckle duster with a spiked wrecking ball attached. Once I'd spoken to Justin, I then reconsidered the design and left it as just a spiked wrecking ball attached to a chain in which Ralph would wrap around his arm. I then thought about giving Ralph a grapple shooter but then thought that it would not fit in with his character or style.  I then decided to draw three m ore weapon ideas on was a larger hammer that Ralph could use to hit other people. I also thought about Ralph having a 'brick belt' so that he could throw bricks at people. I then moved onto a petrol bomb as Ralph is considered as an almost hill billy character and hill billies create moonshine. For the second half of the lesson, we then loo...

Character design - Lesson 2

Image
For the first half of the lesson we were taught about how the shaping and spacing of a character can cause for them to be perceived differently by an audience. We were then given a group of characters to design, looking at their shaping and how that effects the character overall.  The group that I was given was 'Space Trooper'. I created a collection of  character drawings.  Below are some of the drawings that I then proceeded to design further:   Here are the developed drawings: I also created a new character based on a different character. Once we had completed that exercise, we then moved onto looking at character silhouettes and how if a character has a detailed and interesting silhouette, then the character will be interesting. I was given the group 'Medieval Gothic' and I created two silhouettes: Here is a silhouette of a dark priest that I created. I was told that in order to make th...